Kookee can host a public portal for your project: a ready-made page containing your content modules, with no frontend implementation at all.
Publish an article, and it is live on the portal. There is nothing to build, deploy or maintain.
Enabling it
The portal is off until you turn it on. In the dashboard, open Public Portal in the project sidebar and turn on Enable Public Portal.
Once enabled, your portal is served on its own subdomain, which the Public Portal page shows under Enable Public Portal and next to View Portal:
https://{your-project-slug}.kookee.dev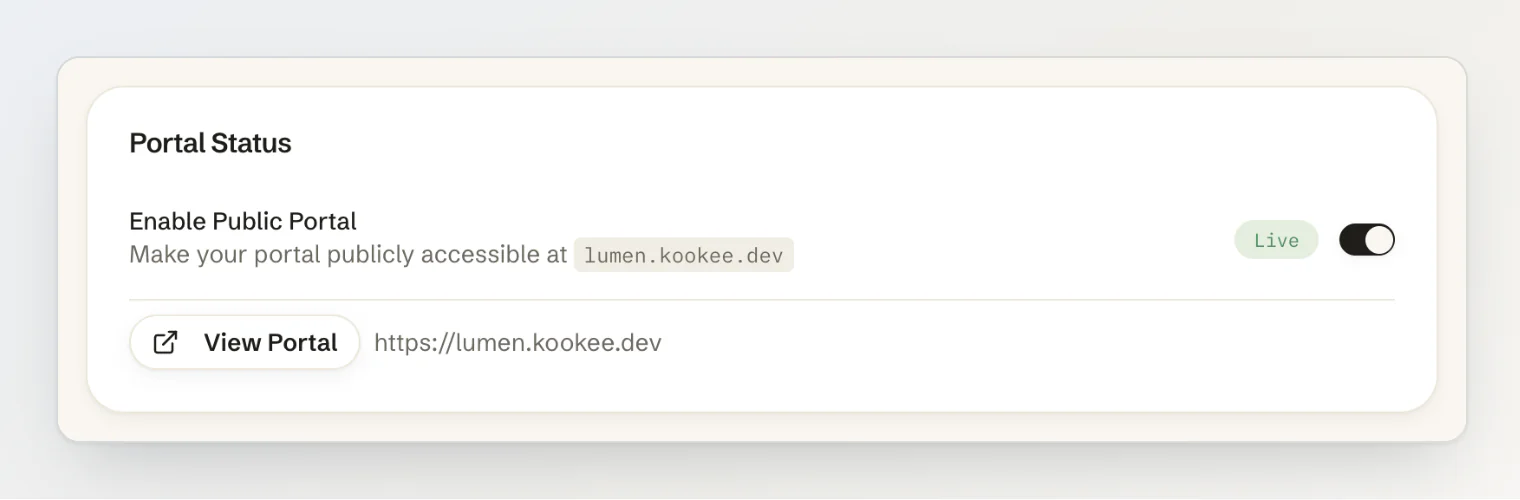
Older links to kookee.dev/p/{your-project-slug} still work: they forward to the same page on the subdomain. The subdomain follows the project slug, so changing the slug in the project settings moves the portal, and links to the old address stop working.
What it includes
The portal renders whichever modules you are using — blog, changelog, help center, pages, roadmap and feedback — with navigation between them, search where the module supports it, and the interactive pieces already wired up: reactions on posts and changelog entries, usefulness voting on help articles, voting and comments on feedback.
The footer shows your project's name and, on Free, a "powered by kookee.dev" link; Pro and Ultra leave the link out. A visitor with no role in your project can post up to 10 feedback posts and 50 comments in it in any 24 hours, so a script cannot flood your board. Members of the project have no daily cap.
The status page
Tick Status page under Portal Modules on the Public Portal page, and the portal gets a Status link and a status page at https://{your-project-slug}.kookee.dev/status. It shows your components with 90 days of uptime, active incidents, scheduled maintenance and the incidents of the last 90 days, and each incident has a page of its own. While an incident or a maintenance is under way, a banner at the top of every portal page links to it, or to the status page when there are several. See Set up a status page.
The site widget on the portal
The Public Portal page also has a Show the site widget switch. Turn it on and every portal page gets the widget in its corner, with the tabs you chose for it. With Ask AI among them, it answers from your published help articles, cites its sources, and opens a cited article right inside the widget, so the visitor keeps their place on the page.
Its tabs, texts and links are the ones saved on the Customize tab of the Site widget page — see Add Home and Help tabs to your widget. The portal's own Ask AI buttons, on the portal home and in the help center, show only while the widget is on the portal and its tabs include Ask AI.
No code required — this is the same widget you would otherwise install yourself, hosted for you. To put it on your own website too, see Install the site widget on your website.
Both Public and Chatbot only articles are used for chat responses; only Public ones also appear in the help center.
Your portal in each of your languages
A project with more than one language gets its portal in each of them. The default language keeps the plain address, and every other language adds its code as the first segment. For a project with the slug lumen, written in English and translated into German:
https://lumen.kookee.dev/help       English, the default language
https://lumen.kookee.dev/de/help    German
An address without a language code means the default language, so the links you shared before keep working.
Add a language
Open Settings → Project in the dashboard.
Add the language under Supported Locales in the Locale Settings card.
Press Save Changes.
The Default Locale field of the same card is the language at the plain address.
From then on the portal answers at the new language's address, such as /de/, and shows a language picker. Pages there show the default language until you translate the entries: open an entry, and in its Translations card press the language's code under Add translation. See Multi-language content and locale fallback for how translations and fallback work.
The language picker
The header on wider screens, the Language row of the mobile menu and the footer show a picker of your project's languages, each under its own name: English, Deutsch, Italiano, 日本語. Picking one opens the same page in that language: the post's translation where there is one, otherwise the default-language version at the new address.
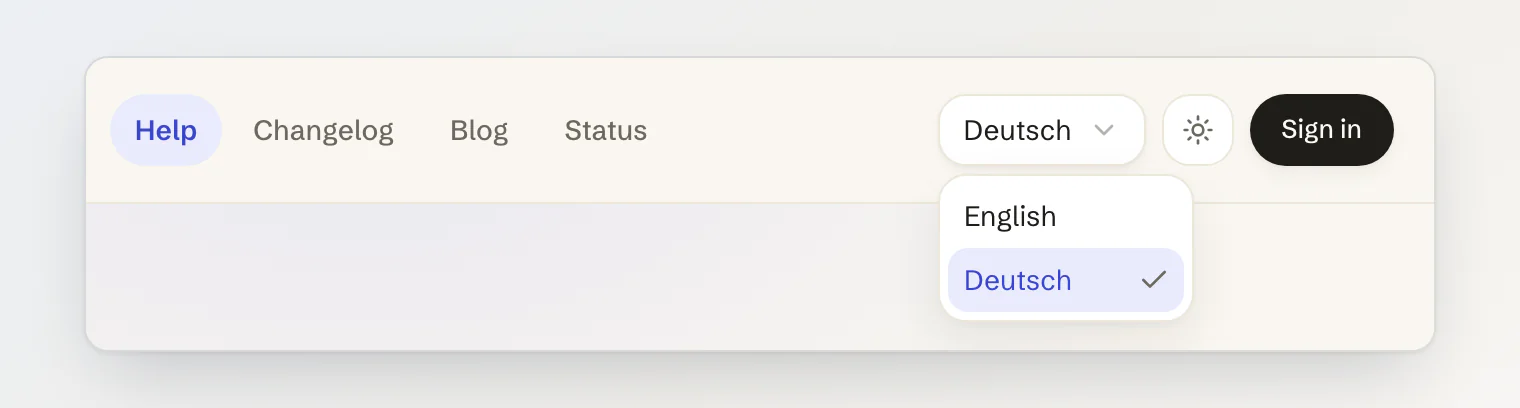
A portal with one language shows no picker. The picker of Kookee's own interface languages, which every portal had before, is gone: visitors see only your project's languages.
Pages that aren't translated yet
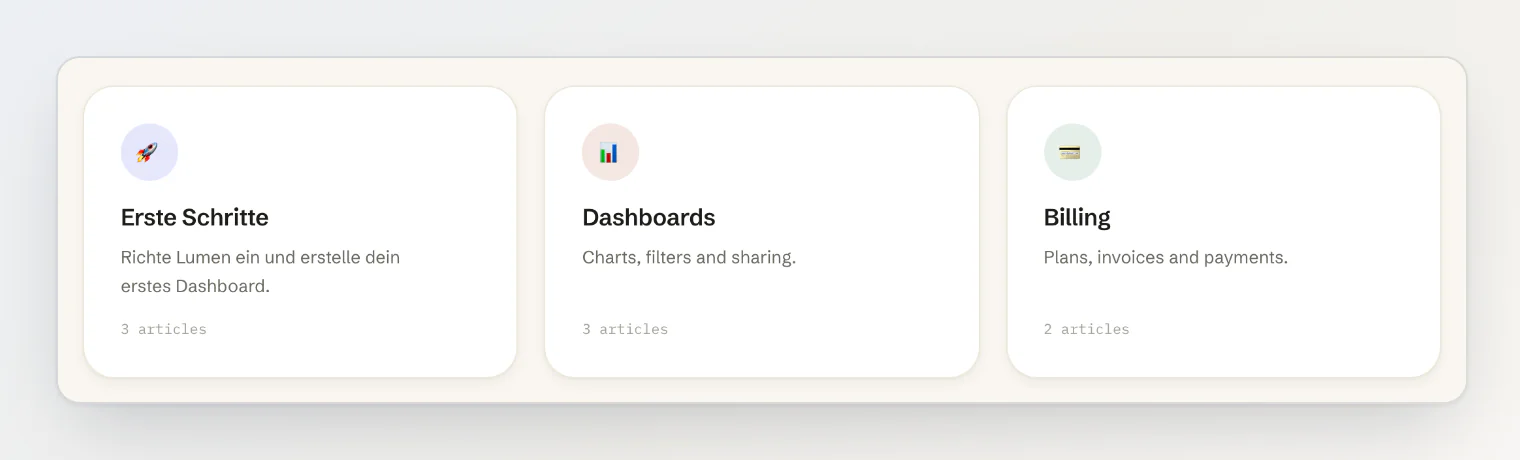
Under /de/, every page shows German where a translation exists and the default language where it doesn't, so nothing disappears for lack of a translation:
Lists of blog posts, changelog entries, help categories and articles, pages and announcements show each entry once, in German or in the default language. So does the recent changelog on the portal home.
A post or article with no German version opens at its
/de/address in the default language, with no "not translated yet" note.Help categories are matched across languages, so an untranslated article opens inside the German version of its category.
Help search, on the search page and in the ⌘K dialog, searches in the page's language, with the same fallback to the default.
Addresses that redirect
A segment of the default language (
/en/when English is the default) or of a language the project doesn't have, including one you removed later, redirects to the same page without the segment.Another spelling of a project language redirects to the one you added:
/DE/goes to/de/.A slug from another language under
/de/, such as the English slug of a post that has a German version, redirects to the German version's slug. Help category slugs redirect the same way.
The portal doesn't choose a language from the browser: an address without a language code shows the default language, with the picker. A link copied from a German page keeps its /de/, so whoever opens it reads German. Links Kookee builds to your portal, in webhooks, integrations, MCP results and portalUrl from GET /v1/project, have no language code and open the default language.
Buttons and menus
The portal's buttons and menus come from Kookee's interface, which is in English, Russian, Spanish, French, Portuguese and German. They follow the language the visitor picked last, or else the browser's, or else English. Picking a content language the interface has, such as German, switches the buttons and menus to it too; picking one it lacks, such as Italian, leaves them as they were. A visitor who opens a shared /de/ link reads German content with their own interface language.
The widget, the announcement banner and search engines
The site widget on the portal and the announcement banner follow the page's content language, not the language of the buttons and menus; see Show the widget in your visitors' language. Portal pages are sent with noindex, so search engines list none of them, in any language.
When the portal is the right answer
For a lot of teams it is the whole solution, permanently:
Before you have a marketing site. A portal gives a new product a public changelog and help center on day one.
Internal or developer-facing tools, where a custom-designed help center earns nothing.
Content that does not belong in the app. A support site does not have to match your product's design system to be good.
Validating the content first. Write the articles, watch what people actually read, then decide whether a custom build is worth it.
Starting on the portal and moving later costs you nothing, because the content is identical either way — it is the same API underneath.
When to build your own
Build a custom frontend when the content needs to live inside your product or your brand:
Help articles rendered in-app next to the feature they describe
A blog that has to match your marketing site exactly
A changelog embedded in a "What's new" panel
Anything needing custom layout, analytics or interaction
These are not exclusive. A common arrangement is a custom in-app help center for signed-in users, with the portal serving as the public support site. Same articles, two surfaces, one place to write them.
Both at once
Since the portal reads the same published content as the API, you can run them side by side:
// Your app's in-app help, from the same articles the portal shows
const articles = await kookee.help.list({ category: 'getting-started' });
Publishing once updates both. There is no sync step and no second copy to fall out of date.
Moving from the portal to a custom build
If you outgrow it, nothing is trapped. The content is already in the API, so the work is purely frontend:
Build your pages against the SDK, starting with one module
Point your domain at your own routes
Disable the portal on the Public Portal page, or leave it running and stop linking to it
If your own pages authenticate with the project id rather than the API key, switch them to the key before you disable the portal: without it, the API refuses requests that carry only a project id.
The portal's blog, changelog, help center and roadmap pages are built with the same @kookee/react components you can use on your own site, so a custom build can start from the same pieces; see React components for your blog, changelog and help center. Its status page is built from @kookee/react/status the same way; see Show your status page on your own site.
No export, no migration, no content changes. See Building with an AI coding assistant for the fastest route to that first custom page.
Continue reading
Multi-language content and locale fallback: locales, translation groups and the
fallbackoption in the API.Show the widget in your visitors' language: how the site widget picks its language, on your site and on the portal.
Managing your content from an AI assistant (MCP): translate entries from Claude or ChatGPT and keep the translations up to date.